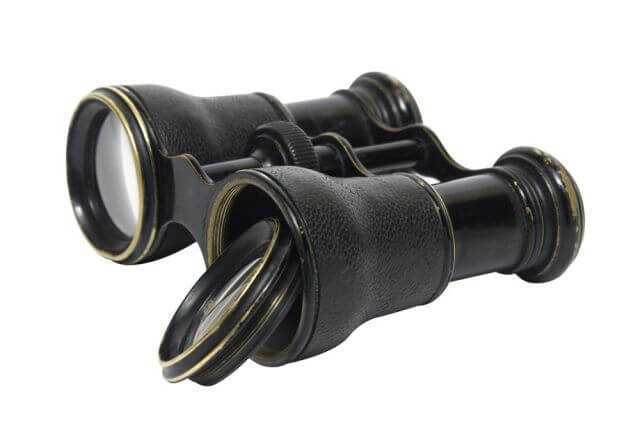
Binoculars are two telescopes linked together that create two separate images. To produce a crisp and perfectly merged 3-dimensional image, the path of the light (optical axis) through lenses and prisms inside the binoculars, needs to be in perfect parallel alignment. This is called “collimated”. Only when the optical axis of the binoculars barrels is collimated, will the two images merge and the brain will view the images as one.
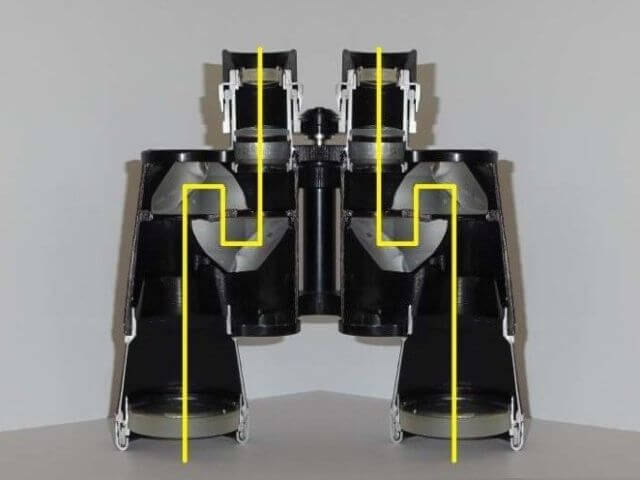
Rough handling may result in these two images getting misaligned. Mechanical impact like dropping the binoculars is the most common cause of Porro prism binoculars to lose collimation. Either one of the built-in prisms shifts or becomes dislodged, or the barrel hinge bends. Both can be the cause of misaligned images.

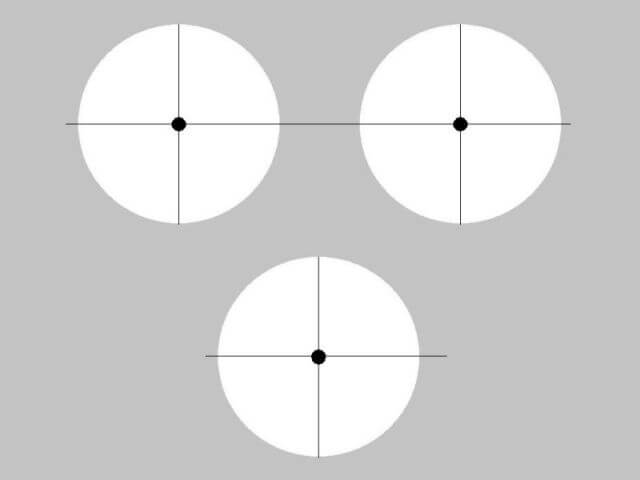
Mis-collimated binoculars will result in poorly defined, overlapping images or cat’s eye-shaped images in each eyepiece. Any minor change in alignment or merging may result in subtle effects that can cause eye strain, headache, and fatigue.
Most manufacturers allow users to repair binoculars alignment to some extent by themselves. Adjustable tilt setscrews are built on each barrel to adjust the prisms accordingly until images are back in alignment. Usually, a slight tweaking of the setscrews that tilt the prisms nearest the eyepieces should do the job. But, when in doubt, it’s best to get help rather than repairing binoculars alignment yourself. Not all repairs can be done on your own; fixing issues concerning the lenses should be done by the manufacturer or a professional.
If you do decide to do minor collimation on your own, here are some guidelines to assist you.
How to Collimate Binoculars, repairing binoculars alignment
#1 Take the binoculars with you outdoors in daylight. Locate a prominent structure far away from you, about 100 yards or more, a house for example, with straight and horizontal lines.
#2 Place the binoculars on a flat, solid surface pointing the unit horizontally. Depending on where you are, a tripod where the binoculars can be mounted may also be used for stabilizing the unit while positioning yourself behind the binoculars.
#3 Center in the field of view, focusing on the prominent structure.
#4 Check horizontal collimation.
- Relax your eyes. Look for a distinct vertical line in the structure.
- Alternate the view by gently closing your eyes one at a time every few seconds.
- Look for any movement in the vertical line as you shift view. The image may move slightly to the left when your left eye is open and vice versa. Slight movements such as these are normal.
- Excessive vertical movements in the vertical line mean adjustment is necessary.
#5 Check vertical collimation.
- Relax your eyes. Locate a distinct horizontal line in the structure.
- Slowly move your eyes away from the binoculars, about 4 inches, while continuing to observe the horizontal line. Look for any disproportion in the horizontal line on each lens.
- The line you focused on should remain unbroken and straight with no part of the vertical position of horizontal lines displaced.
#6 Locate the two prism tilt adjustment setscrews on each barrel of the binoculars near the eyepiece. For models with a waterproof rubber covering, use a small (1 mm) flat-bladed screwdriver to gently pry open the gap between the edge of the rubber cover and the prism cover, and slowly peel back, until you find the setscrews.
#7 Using the same screwdriver, adjust the prism tilt setscrews.
#8 On the left side barrel, by turning the setscrew clockwise, you will move the image to the right and down and by turning the setscrew counterclockwise you will move the image up and to the left.
#9 On the right side barrel, turning the setscrew clockwise will move the image to the left and down. If you turn the set screw counterclockwise the image will move to the right and up.
#10 Remember to turn the setscrews back and forth in small increments, frequently evaluating the images as they shift apart from one another or fuse together. Stop turning the setscrews when you see the images merged as viewed through both barrels.
If you think the image is still a bit out of alignment, repeat the steps above until the images merge horizontally without any vertical displacement. Usually, minor vertical misalignment can be easily resolved by adjusting one side. Take your time and be patient, it can be a very tedious process of repairing binoculars alignment.
Another good article on how to collimate binoculars is here on skyatnightmagazine.com
Some Reminders
- Viewing bright objects or stars at night is preferably the best way to gauge and help to repair binoculars alignment. Properly aligned binoculars should have round exit pupils if the images are merged perfectly but the exit pupils are oval, your binoculars may need more collimation done by a professional.
- Porro prisms have two setscrews while roof prisms may have four setscrews that should be adjusted in sync with each other.
- Frequently clean binoculars and store them in dry storage spaces to prevent fungi to grow on lenses.


